Set up a distribution list
Create a recipient group and reach many at once with a single name.
With a distribution list you reach a fixed recipient group via a single name - such as "Customer newsletter". This guide shows how to create a list, maintain members and use it when composing.
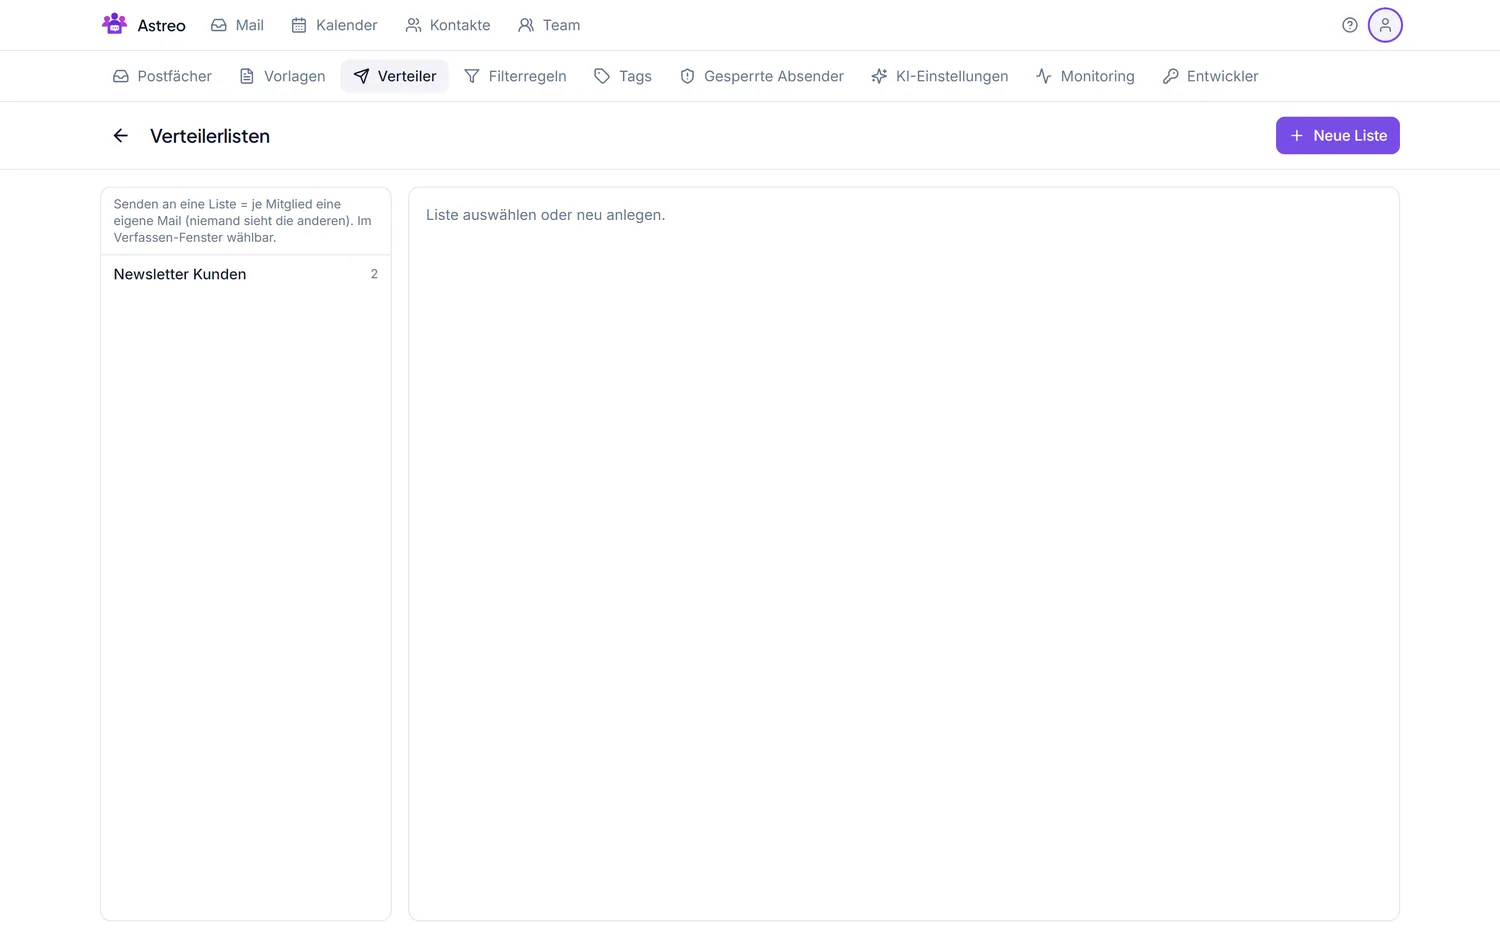
1. Create the list
- Open the Settings via the avatar menu (top right) and go to the Distribution lists tab.
- Create a new list and give it a meaningful name (e.g. "Customer newsletter").
2. Add members
- Add recipients from your contacts or enter addresses manually (name optional).
- Members can be added or removed at any time.
3. Use the list when composing
- Click Compose.
- In the recipient field, enter the list name - all members are addressed.
- Write and send as usual.
4. Export & import (JSON)
You can save a distribution list as a JSON file and import it again later - handy as a backup or to move a list into another account.
- Export: open the list and click Export in the header. It downloads a file
verteilerliste-<name>.json. - Import: click Import at the top right and pick a JSON file. The import creates a new list from it.
File format
The exported file looks like this:
{
  "type": "mailclient.mailing-list",
  "version": 1,
  "exportedAt": "2026-07-06T10:15:00.000Z",
  "name": "Customer newsletter",
  "members": [
    {
      "email": "anna.example@example.com",
      "salutation": "Frau",
      "title": "Dr.",
      "firstName": "Anna",
      "lastName": "Example",
      "name": "Anna Example",
      "gender": "weiblich"
    },
    {
      "email": "max@example.com"
    }
  ]
}
Fields per member:
email- required. Entries without an email address are skipped.salutation- form of address (e.g. "Herr", "Frau").title- title (e.g. "Dr.").firstName/lastName- first and last name.name- full name (optional; otherwise built from first/last name).gender- "männlich", "weiblich" or "divers".
On import, only email is required per entry; all other fields are optional. The outer fields
(type, version, exportedAt) are informational - an object with just
name and members is enough. Good to know:
- Duplicate addresses are merged (case-insensitive).
- Unknown fields are ignored.
- Import always creates a new list; existing lists are never overwritten.
5. Maintenance & privacy
- Keep the list current - remove opt-outs promptly.
- For bulk mail to external recipients, put them in BCC so addresses aren't visible to each other.
- Only send with a valid legal basis (e.g. consent) - a distribution list doesn't replace consent management.